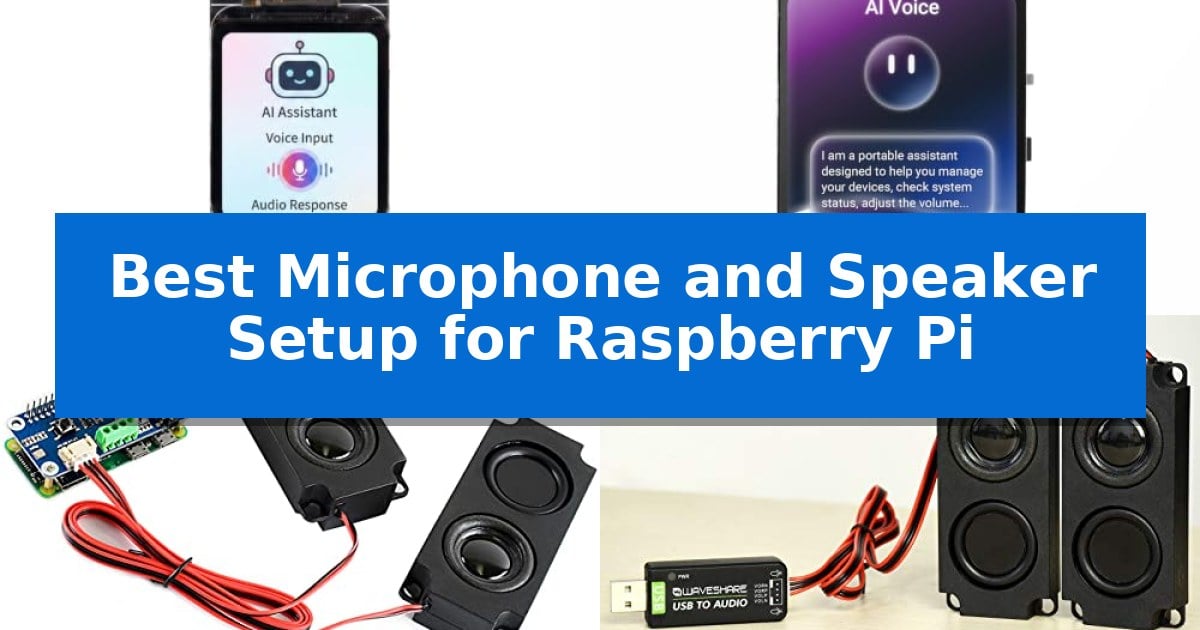
Building a custom voice assistant or media terminal requires a reliable audio chain that integrates seamlessly with your hardware. Finding the Best Microphone and Speaker Setup for Raspberry Pi involves balancing input sensitivity, output clarity, and the physical constraints of your specific board model.
Whether you are working with a compact Zero 2 W or a full-sized Pi 5, the right expansion board can simplify your build by handling signal processing and power delivery. This guide evaluates five distinct audio solutions to help you select the hardware that matches your project's specific requirements.
You may also want to compare Best Microphone and Speaker Sets, Best Microphone and Speaker for Phone Streaming, and Best Microphone and Speaker Combos.
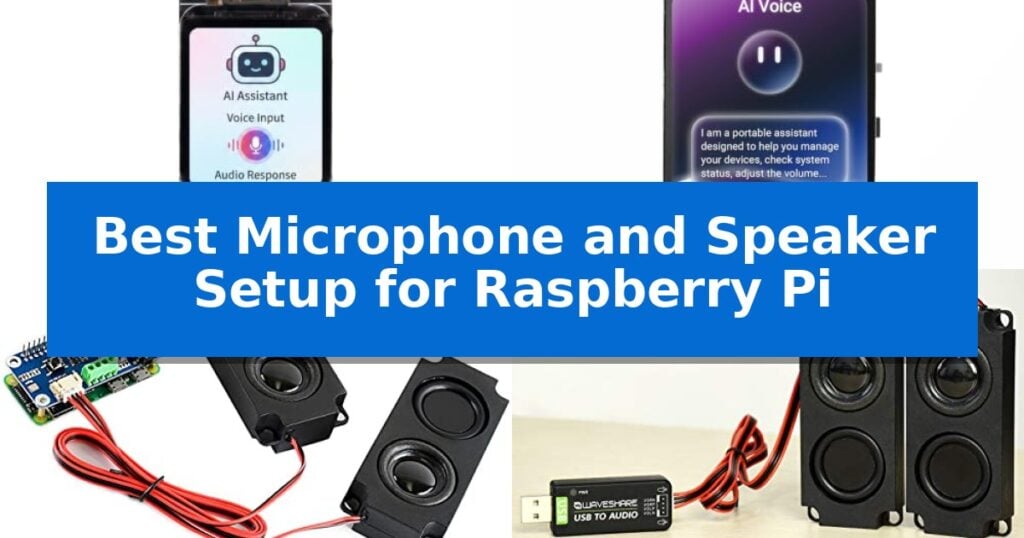
Best Microphone and Speaker Setup for Raspberry Pi
Quick Comparison
| Product | Best For | Key Strength | Score |
|---|---|---|---|
| PiSugar Whisplay Audio HAT | Best Overall | All-in-one integration of display, dual microphones, and speaker. | 4.9 |
| LAFVIN Audio Display HAT | Integrated Screen and Voice | Integrated all-in-one design combining display, audio codec, microphones, and speaker. | 4.6 |
| BFab WM8960 Audio HAT | Hi-Fi Stereo Sound Card | Integrated dual MEMS silicon microphones for stereo recording. | 4.4 |
| Wonrabai USB Audio Adapter | Plug-and-Play Speaker Module | Driver-free, plug-and-play installation for immediate use. | 4.3 |
| Seeed Studio ReSpeaker Array | Advanced Far-Field Voice Capture | Plug-and-play USB connectivity for rapid deployment on Raspberry Pi. | 4.7 |
How We Chose
- Hardware Compatibility: Verified support for 40-pin GPIO headers and specific Raspberry Pi board models.
- Audio Processing: Assessed the presence of dedicated codecs, noise cancellation, and far-field voice capture capabilities.
- Integration Complexity: Considered the necessity of soldering versus plug-and-play USB or HAT-based installation.
- Form Factor: Evaluated the physical footprint to ensure suitability for compact or handheld project enclosures.
- Feature Set: Analyzed additional functionality such as integrated displays, programmable buttons, and external speaker support.
1 PiSugar Whisplay Audio HAT — All-in-one Display and Audio
Integrating high-fidelity audio and visual feedback into compact Raspberry Pi projects is simplified by the PiSugar Whisplay HAT, which combines a 1.69-inch color LCD with dual microphones and an onboard speaker on a single board. This expansion module is specifically engineered to match the 65mm x 30mm footprint of the Raspberry Pi Zero and Zero 2 W, making it a practical choice for handheld media terminals or voice-controlled smart devices.
The board features a high-performance audio codec designed for accurate voice capture and playback, supported by an additional PH2.0 interface for users who prefer connecting an external speaker. Beyond audio, the PiSugar Whisplay HAT includes programmable physical buttons and RGB LEDs, providing developers with tactile controls and visual status indicators for custom IoT applications.
Installation is streamlined through a plug-and-play design that connects directly to the 40-pin GPIO header, requiring no soldering. The manufacturer provides full Python drivers and open-source documentation to assist with integration, ensuring the hardware is ready for immediate use in AI chatbot or voice assistant projects.
While the board offers a comprehensive feature set for its size, users should exercise care during handling. The integrated glass screen is delicate, and the manufacturer advises users to handle the device by the edges of the PCB to avoid applying excessive pressure to the display.
Best for: Developers building compact smart speakers, voice assistants, or portable media terminals using a Raspberry Pi Zero or Pi 5.
Skip if: Users requiring high-wattage audio output or those who prefer a larger, more robust display screen for desktop-based monitoring.
PROS
- All-in-one integration of display, dual microphones, and speaker.
- Compact form factor matching the Raspberry Pi Zero series.
- Zero-soldering installation via standard 40-pin GPIO header.
- Developer-friendly with provided Python drivers and GitHub examples.
CONS
- Fragile glass screen requires careful handling by the PCB edges.
2 LAFVIN Audio Display HAT — Integrated Screen and Voice
Integrating a high-quality audio and visual interface into a compact Raspberry Pi project is simplified by the LAFVIN Audio Display HAT, which combines a 1.69-inch IPS display with a professional-grade audio codec. This HAT provides a streamlined solution for users needing both visual feedback and sound capabilities without managing multiple disparate modules.
The LAFVIN Audio Display HAT features a 1.69-inch IPS LCD with a 240×280 resolution, offering clear visuals for GUIs or system status updates. Audio processing is handled by the WM8960 audio codec, which streams audio over I2S and includes dual MEMS microphones for voice capture. For output, it includes an onboard 8Ω 1W speaker alongside a switchable PH2.0 external audio port for more robust sound setups.
Designed for versatility, the board includes customizable RGB LEDs for status indicators and programmable buttons that can be mapped to specific triggers or game controls. It utilizes a standard 40-pin GPIO header, ensuring compatibility with the Raspberry Pi Zero 2 W, 3 B+, 4 B, and 5. The setup process is supported by one-click scripts and Python-friendly libraries, allowing for quick deployment in projects like voice assistants, smart home controllers, or portable multimedia terminals.
The hardware design focuses on a compact footprint, measuring approximately 2.56 by 1.18 inches. While it provides an all-in-one interface, users should note that the integrated 1W speaker is intended for basic audio tasks; those requiring high-fidelity sound for music playback may prefer utilizing the external audio port for a larger speaker connection.
Best for: Developers and hobbyists building compact voice-controlled assistants, smart home interfaces, or portable multimedia projects on a Raspberry Pi.
Skip if: Users requiring high-fidelity audio output or a larger screen for complex desktop applications will find the integrated 1W speaker and 1.69-inch display insufficient.
PROS
- Integrated all-in-one design combining display, audio codec, microphones, and speaker.
- Plug-and-play compatibility with standard 40-pin Raspberry Pi GPIO headers.
- Python-friendly software support with provided example scripts for rapid development.
- Customizable interface featuring programmable buttons and RGB LED feedback.
CONS
- Limited speaker output (1W) may not meet requirements for high-volume or high-fidelity audio needs.
- Small display size is optimized for status indicators and simple GUIs rather than detailed desktop environments.
3 BFab WM8960 Audio HAT — Hi-Fi Stereo Sound Card
The BFab WM8960 Audio HAT provides a streamlined way to integrate high-fidelity audio capabilities directly into your Raspberry Pi project. By utilizing a standard 40PIN GPIO extension header, this module ensures broad compatibility with various Raspberry Pi series boards, including the 4B, 3B+, and Zero 2W.
At its core, the board features a WM8960 low-power stereo CODEC that communicates via the I2S interface, ensuring efficient data transmission for audio tasks. This setup is particularly effective for projects requiring both playback and recording, as it includes dual high-quality MEMS silicon microphones that support left and right channel recording.
For output, the device offers flexible options, including an onboard 3.5mm earphone jack and a dedicated dual-channel speaker interface. This allows you to drive external speakers directly, while the hardware supports advanced sound effects like stereo and 3D surrounding audio, enhancing the versatility of your custom build.
To assist with implementation, the module includes comprehensive development resources and Python demo code. This documentation simplifies the process of configuring the hardware for specific recording or playback applications, making it a practical choice for developers looking to add audio functionality to their compact computing setups.
Best for: Developers and hobbyists looking to add high-fidelity audio recording and playback capabilities to a Raspberry Pi project.
Skip if: Users who require professional-grade studio audio interfaces or those who do not have experience working with I2S interfaces and GPIO-based hardware.
PROS
- Integrated dual MEMS silicon microphones for stereo recording.
- Direct speaker drive capability via an onboard dual-channel interface.
- Broad compatibility with multiple Raspberry Pi models via the 40PIN GPIO header.
- Includes development resources and Python demo code for easier setup.
CONS
- Requires I2S interface configuration, which may present a learning curve for beginners.
4 Wonrabai USB Audio Adapter — Plug-and-Play Speaker Module
Integrating audio capabilities into a single-board computer project requires a reliable interface that handles both input and output without complex configuration. The Wonrabai USB Audio Adapter simplifies this by providing a dedicated USB sound card module that features an onboard microphone and a header for an external speaker, making it a functional Best Microphone and Speaker Setup for Raspberry Pi for compact builds.
This module is designed for versatility, supporting a wide range of sampling rates from 8K up to 48K (Hz) to accommodate various audio fidelity requirements. Its driver-free, plug-and-play architecture allows it to function immediately upon connection to a standard USB 2.0 port, which is particularly useful for users working within Linux or Android environments on platforms like the Raspberry Pi or Jetson Nano.
The hardware includes an 8Ω 5W speaker and a stereo codec, ensuring that both recording and playback tasks are handled by a single, integrated unit. Its portable dimensions of approximately 3.9 x 1.8 inches make it suitable for projects where space is at a premium, while the inclusion of a dedicated speaker header provides flexibility for those who need to connect larger or specific audio output components.
While the device offers a streamlined solution for basic audio tasks, users should note that it is optimized for standard USB 2.0 connectivity. It serves as a practical, all-in-one bridge for developers who require immediate audio functionality without the overhead of installing custom drivers or managing separate audio interface boards.
Best for: Developers and hobbyists needing a compact, plug-and-play audio input and output solution for Raspberry Pi or Jetson Nano projects.
Skip if: Users requiring high-fidelity professional audio recording or those who need to connect multiple external microphones and speakers simultaneously.
PROS
- Driver-free, plug-and-play installation for immediate use.
- Integrated onboard microphone and speaker header for two-in-one functionality.
- Supports a wide array of sampling rates up to 48K (Hz).
- Compact form factor ideal for space-constrained projects.
CONS
- Limited to USB 2.0 interface speeds.
- Fixed 8Ω 5W speaker output capacity.
5 Seeed Studio ReSpeaker Array — Advanced Far-Field Voice Capture
The seeed studio reSpeaker XVF3800 USB Microphone Array provides a specialized solution for developers needing high-fidelity voice capture on a Raspberry Pi. By utilizing the XMOS XVF3800 voice processor, this board enables sophisticated audio processing that offloads complex tasks from the host computer, ensuring consistent performance for voice-activated projects.
Designed for versatility, the array features four high-sensitivity digital MEMS microphones arranged in a circular pattern. This configuration supports 360° far-field pickup up to 5 meters, making it effective for room-scale voice recognition. The hardware integrates advanced algorithms including Acoustic Echo Cancellation (AEC), dereverberation, and dynamic noise suppression to maintain clarity in challenging acoustic environments.
Integration is streamlined through a plug-and-play USB interface that requires no additional drivers, allowing it to function immediately with Raspberry Pi, Linux, and other compatible platforms. For more advanced embedded applications, the device also supports a firmware-selectable I2S mode, providing flexibility for makers who require a direct hardware connection to an external MCU like an Arduino or ESP32.
The board includes 60dB Automatic Gain Control (AGC) and Voice Activity Detection (VAD) to intelligently manage audio input levels and isolate speech from background noise. This combination of hardware-level processing and flexible connectivity makes it a robust choice for smart home, robotics, and custom AI voice interface development.
Best for: Developers and makers building voice-controlled AI applications, smart home interfaces, or robotics projects on Raspberry Pi.
Skip if: Users who require a simple, all-in-one speaker and microphone unit, as this is a bare-board microphone array that does not include integrated speakers.
PROS
- Plug-and-play USB connectivity for rapid deployment on Raspberry Pi.
- Advanced onboard AI processing including AEC, VAD, and noise suppression.
- 360° far-field voice pickup with a 5-meter range.
- Flexible firmware modes supporting both USB and I2S interfaces.
CONS
- Bare board design requires custom housing or mounting for finished projects.
- No integrated speaker functionality included on the board.
Best Microphone and Speaker Setup for Raspberry Pi Buying Guide
Understanding Audio Interfaces
The primary decision when selecting audio hardware is choosing between an I2S-based HAT or a USB-based adapter. HATs (Hardware Attached on Top) connect directly to the GPIO pins, providing a clean, integrated solution that often includes advanced features like onboard displays or programmable buttons. This is ideal for dedicated projects where you want a single, compact unit.
Conversely, USB audio adapters offer superior flexibility and plug-and-play compatibility. These devices do not require specific driver configuration for basic input and output, making them a safer choice for beginners or those who frequently switch between different Raspberry Pi models. They are particularly useful if your GPIO pins are already occupied by other sensors or modules.
Voice Capture Requirements
If your project involves voice recognition or AI interaction, the quality of your microphone array is critical. Look for modules that feature MEMS microphones and hardware-level Acoustic Echo Cancellation (AEC). These features prevent the device from picking up its own speaker output, which is essential for accurate voice command processing.
For projects requiring room-scale interaction, consider a far-field microphone array. These devices use multiple microphones and advanced algorithms to isolate speech from background noise, allowing for reliable voice capture from several meters away. This is a significant upgrade over the basic microphones found on standard audio HATs.
Speaker Output and Amplification
Most audio HATs include a small onboard speaker, which is sufficient for system alerts or simple voice feedback. However, if your project involves music playback or high-quality audio, ensure the board supports external speaker connections via a PH2.0 interface or 3.5mm jack.
Check the power requirements of the speaker you intend to use. Some modules include an integrated amplifier capable of driving 5W speakers, while others are limited to smaller 1W units. Matching the amplifier's output to your speaker's impedance is vital to avoid distortion and potential damage to the audio codec.
Physical Integration and Enclosures
The physical dimensions of your audio setup will dictate the size of your final enclosure. HATs that match the footprint of the Raspberry Pi Zero are excellent for handheld devices, but they may limit your options for adding cooling fans or other bulky components.
Always verify the clearance between the HAT and the Raspberry Pi's processor. If you are using a high-performance board like the Pi 5, ensure your audio HAT does not obstruct airflow or interfere with the heatsink. Some boards offer pass-through headers, which can be useful if you need to stack multiple HATs.
Software and Driver Support
Even the best hardware can be difficult to use without proper software support. Prioritize modules that provide Python drivers and open-source documentation. This significantly reduces development time, as you can leverage existing libraries to control display output, RGB LEDs, and audio streams.
Check if the manufacturer provides ready-to-run examples or GitHub repositories. Having access to tested code for basic tasks, such as recording audio or triggering a script with a button press, is a major advantage for developers looking to get their project running quickly.
Frequently Asked Questions
Can I use these audio HATs with a Raspberry Pi 5?
Yes, most modern audio HATs designed for the 40-pin GPIO header are compatible with the Raspberry Pi 5, though you should always verify the specific pinout and software driver requirements provided by the manufacturer.
Do I need to solder anything for these setups?
Most HATs are designed for plug-and-play installation onto the 40-pin header. However, some modules may require soldering if you choose to connect external speakers or custom sensors, depending on the specific board's design.
What is the advantage of an I2S interface over USB?
An I2S interface provides a direct digital audio path to the processor, which often results in lower latency and higher audio fidelity compared to USB, making it the preferred choice for professional-grade voice capture and playback.
Are these modules compatible with voice assistants like Alexa or Google Assistant?
Yes, modules that include high-quality MEMS microphones and AEC are well-suited for voice assistant projects, as they provide the necessary hardware to capture clear voice commands in various environments.
Can I use multiple audio devices simultaneously?
While it is technically possible to configure multiple audio devices in Linux, it can lead to complex driver conflicts. It is generally recommended to stick to a single, integrated audio solution for your project to ensure stability.
Conclusion: Our Top Pick
Selecting the right audio hardware is essential for the success of your Raspberry Pi project. For those seeking an all-in-one solution that combines display, audio, and programmable controls, the PiSugar Whisplay Audio HAT stands out as the most versatile option. Its compact form factor and integrated high-fidelity codec make it an excellent choice for smart speaker and voice assistant builds.
While the PiSugar Whisplay Audio HAT offers the most comprehensive feature set, ensure your project requirements align with its specific dimensions and GPIO usage. For simpler audio-only needs or projects requiring far-field voice capture, alternative modules like the Seeed Studio ReSpeaker Array may provide a more specialized solution.